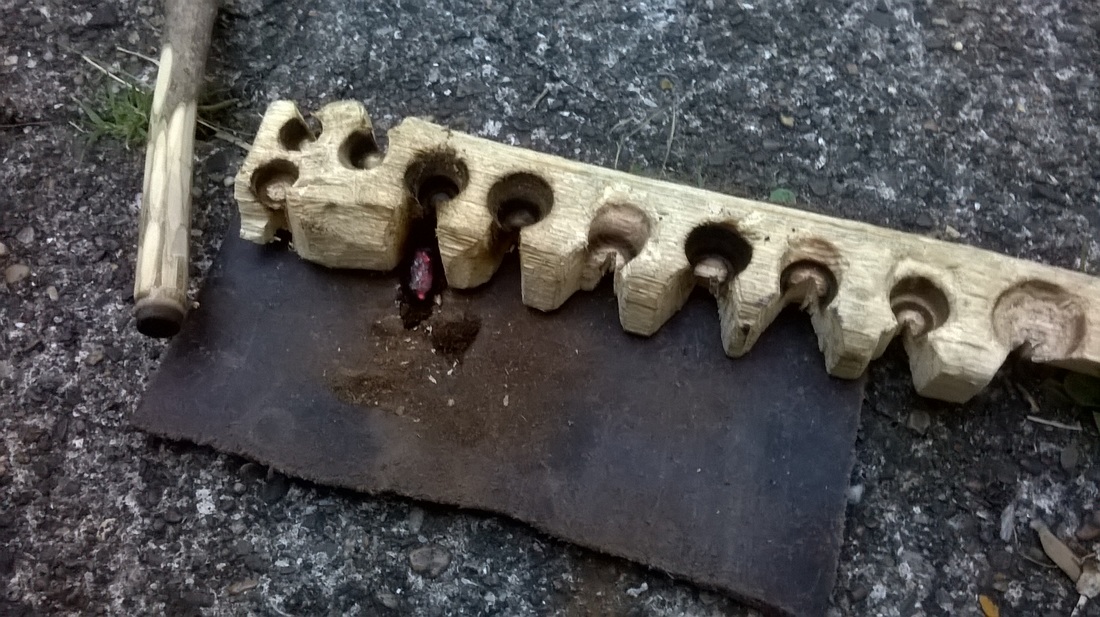
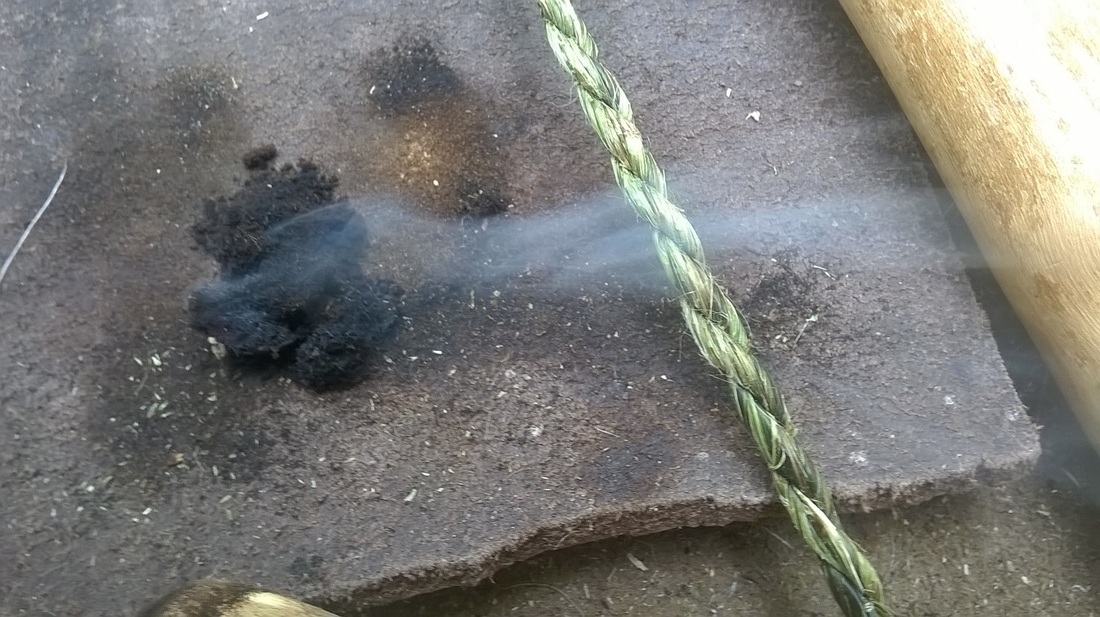
On 19th July (Day 41 of hand drill practice) , I successfully created my first ember using the hand drill without using any thumb loops! I used Elder spindle on Clematis hearth, and I managed to create 3 embers in total that evening, without much effort. I thought I had cracked it! But it took me another week of practising everyday until I could get another ember which was on 25th July. For this ember, I used (what I think is) Willow (which I found in the car) on Clematis and again I created the ember without too much effort in a few minutes. But I don't seem to be getting consistent results, and so I'm trying to figure out what is different on the times I don't get an ember as the woods are the same, and my technique is the same (or I think it is!) Is it the notch (width\depth)? Is it the humidity? etc I've not figured it out yet, but I'm on the right track and it feels amazing to be able to create an ember by just using your bare hands and two pieces of wood, and the hand drill makes me feel connected to our ancestors.
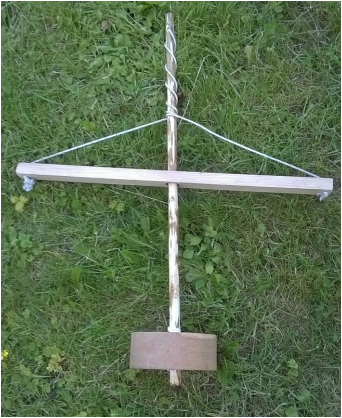
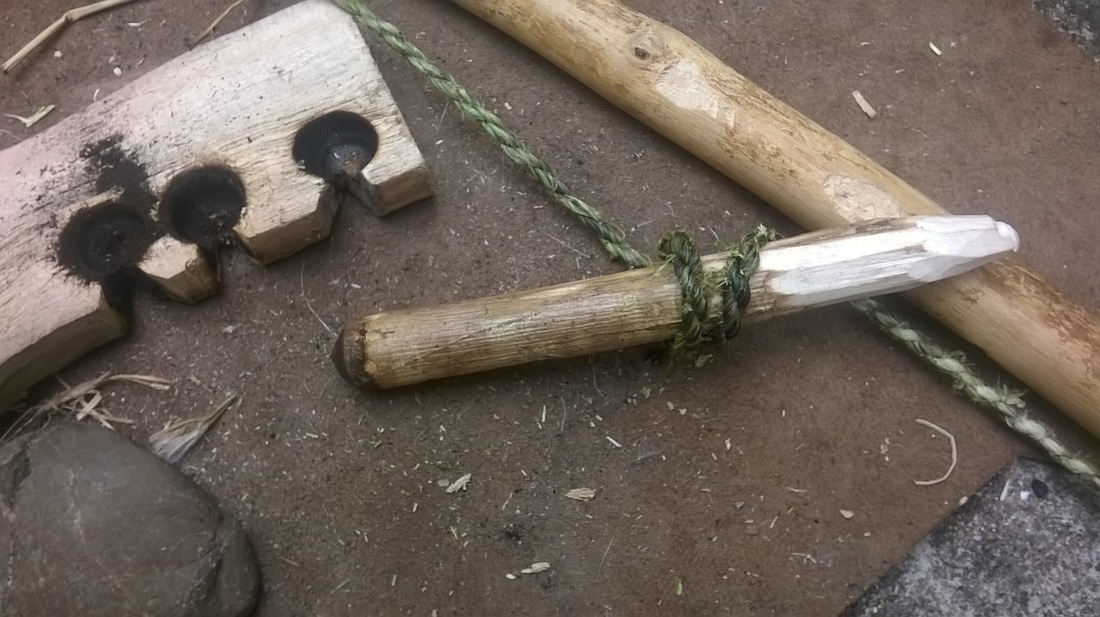
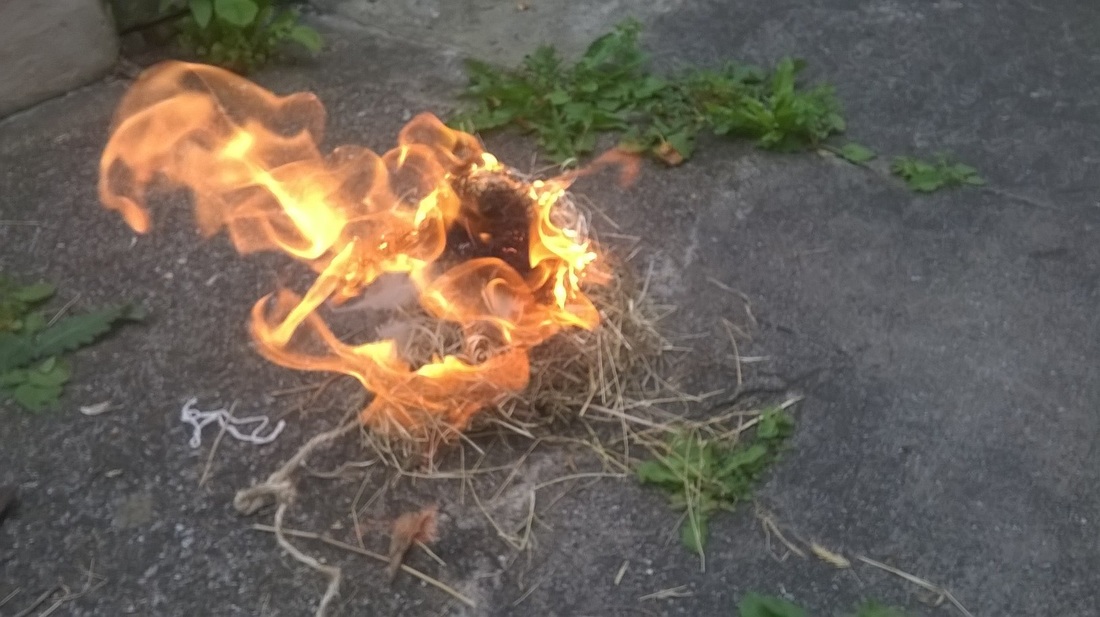
As per my earlier post, I started to learn the hand drill a few weeks back. What I soon learnt, is that there isn't room for imperfections with the hand drill, unlike the bow drill where you can sometimes get away with cutting corners (once you've learnt it.) With the hand drill, the type and condition of the wood needs to be just right, and the pressure and speed in which you spin needs to be just right. The thickness of the spindle also makes a huge difference. On Thursday (14th July) after many attempts and trying various things including crumbled King Alfred's cake\cramp balls (which didn't work., I then tried once more using thumb loops on a new hole and amazingly I got an ember. I was ecstatic and was on a high. I thought I had cracked it! Since then, I haven't managed another ember. I realised that there is no room for complacency! You need to be always thinking, reviewing your setup, being connected and aware. I then noticed my Elder spindle had worn down and had gotten thicker which means more surface area and so requires more pressure and speed. Also, on that final go, the end of the spindle had got nicely charred and hot so that maybe helped too. I am now trying a new thinner Elder spindle but still no ember (yet) - I am getting smoke and brown dust and this most likely infers that I need to apply more pressure. So it's also made me realise that I'm not there yet, and still have much learning and practice to do, however the first ember has given me the motivation to carry on. I'd also like to be able to crack the Hand Drill free-hand without using thumb loops. At the moment, the thumb loops are helping me learn how much pressure I need to apply, and I can then try to emulate that free hand. I'm also not quite there with my strength so I need to keep at it, to strengthen my arms so I can go for longer and apply more pressure. With friction fire, there is also more to learn, and I'm still learning with the bow drill as well! 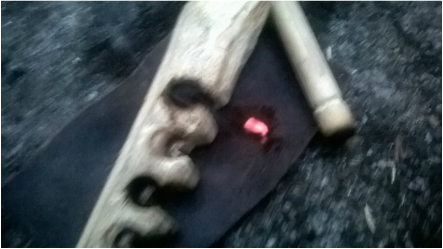 My first Hand Drill ember with Elder spindle on Clematis hearth board using thumb loops. I have finally got around to making my own cordage - I started with nettles. This is a very good article which I used - http://www.jonsbushcraft.com/Nettle%20cordage.htm .The only thing it didn't mention was how many fibres to use - I started with 10 fibres for each "strand" and that made a nice thick cordage - you wouldn't want it much thicker or much thinner than that. My ember's weren't great but I think that was because I was being a bit gentler than usual and the cord could have been a bit tighter but as you can see from the pictures, it lit the ember (it's not allways about the size of the ember but your ability at lighting the tinder!) I just need to practice a bit more and get more confidence in my own-made cordage. I found the preparation was the time consuming bit - making the cordage was quite quick - I used the rope laying method as explained in the above article. I will probably just use own made cordage for ceremonial use rather than everyday use.
|
Archives
January 2024
Categories
All
|


 RSS Feed